Backyard Compost Bin

I browsed Pinterest for easy backyard compost bins and the winner in my opinion for the easiest and most practical was the round garbage can version (it beat the square plastic bin because rolling seems easier than stirring). I wanted an easy to build and easy to maintain compost option for my small front yard garden and flower beds. Plus, after having my teenage daughter off-handedly mention that I start many projects I never complete, I have been focusing on keeping it simple so I can finish what I start (obviously mom needs to set a better example going forward).

Tonight I hauled the garbage can I bought a couple weeks ago into the dining room and got to work.

Supplies:
•32 gallon Rubbermaid garbage can with a snap on lid ($15)
•drill with 3/16″ bit
•2 bungee cords ($2 each)
Total cost = $19.00

20140406-210418.jpg
I drilled about 60 holes around the side walls of the can, 15 in the bottom, and 15 in the lid.

20140406-210652.jpg
I snapped the lid on and hooked it down with the two bungee cords.

20140406-210819.jpg
It is now sitting by the back door ready to be filled by the light of day tomorrow after work. I did some research and the recommendation was about 50/50 green to brown compost. Here is a list of both green and brown compost. I plan to put a layer of brown compost in the bottom and top with green compost kitchen scraps I’ve already been collecting.

To maintain, continue to add green and brown compost and roll the can around the yard every couple days.

Crossing my fingers that I reap some nutrient rich compost for my efforts!
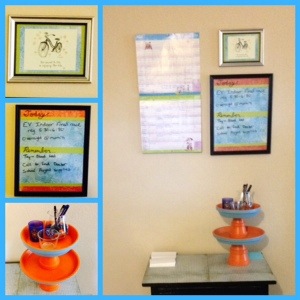
Family Schedule Center

20140405-122331.jpg
I set up our family schedule center in a central location in the house. You pass it coming from the bedrooms in the morning and it’s the first thing you see when you walk in the front door (the one we always enter through). I even caught my daughter reading it the other day (success!).

It’s the combination of several Pinterest ideas I’ve pinned over the year customized to meet my needs.
20140405-123422.jpg
I got this really cool calendar in the Target dollar section. It has a line for each family member (we use the 4th line for family events because there are only 3 of us). I write everything on here as it becomes known. It’s a two year calendar so we can schedule stuff way out.
20140405-124853.jpg
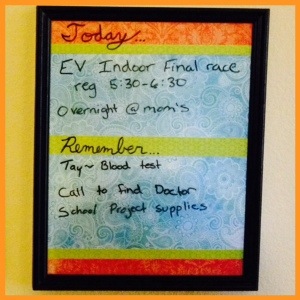
As part of my nightly routine I write the next day’s activities on my “dry erase board.” I made it out of an old 11×14 picture frame and scrap booking paper to match my decor.
20140405-125310.jpg
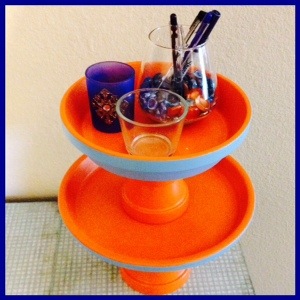
I used the dessert tray I made from clay pots and saucers as a stand for pens and a dry erase marker. I may eventually store more stuff on it, but I don’t know what I’ll need yet.
20140405-125913.jpg
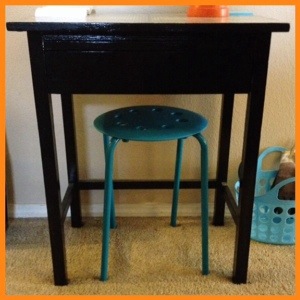
An old side table with a drawer that I painted black and decopaged the top with scrap booking paper, and a stool anchor the scheduling center and provides a writing surface as well as storage spot for extra keys and letter writing stationary.
20140405-130612.jpg
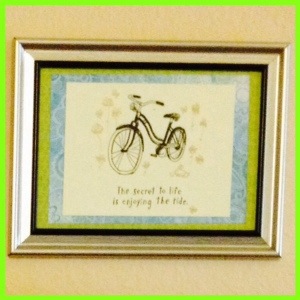
And to cap it off I framed a card that I love!! “The secret to life is enjoying the ride.”

Partial bath remodel

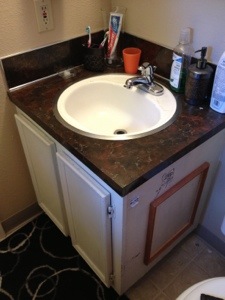
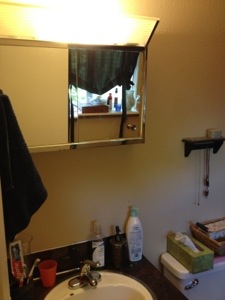
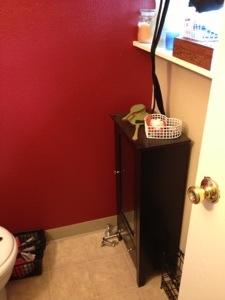
I am nearing the end of phase one of the master half bath remodel. Here is what I started with (well we painted before moving in).

20130907-204239.jpg

20130907-204325.jpg

20130907-204410.jpg
First I painted the cabinet base gloss black and decopaged the door insets with a fun paper. Hoping to make it look decent until I can replace the sink and base along with the toilet all at once.

I greatly disliked the mirror and light, but wanted the medicine cabinet storage the mirror provided. So, I took the little black cabinet and removed the legs, added some trim, and mounted it on the wall above the toilet. Next, I took down the awful mirror/light combo and installed a framed mirror and new light.

20130907-204723.jpg

20130907-204738.jpg
I repurposed my old toy china set cabinet, and made it into a nail polish cabinet/piece of art. I also made a jewelry holder out of an old picture frame, needle point plastic, ribbon, and cup hooks.

20130907-205148.jpg
So phase 1 complete. Phase 2 will involve fixture replacements and then both bathrooms will be upgraded!

Camp Trailer

I have a hankering to start a major project. I don’t know if I will yet, but I am dreaming. I want to build a small camp trailer starting with a Harbor Freight utility trailer. Here is an example of what I’m dreaming of building. The only difference is I want a shorter version that pops up.

20130629-133456.jpg

20130629-133520.jpg

Clay pot dessert tray

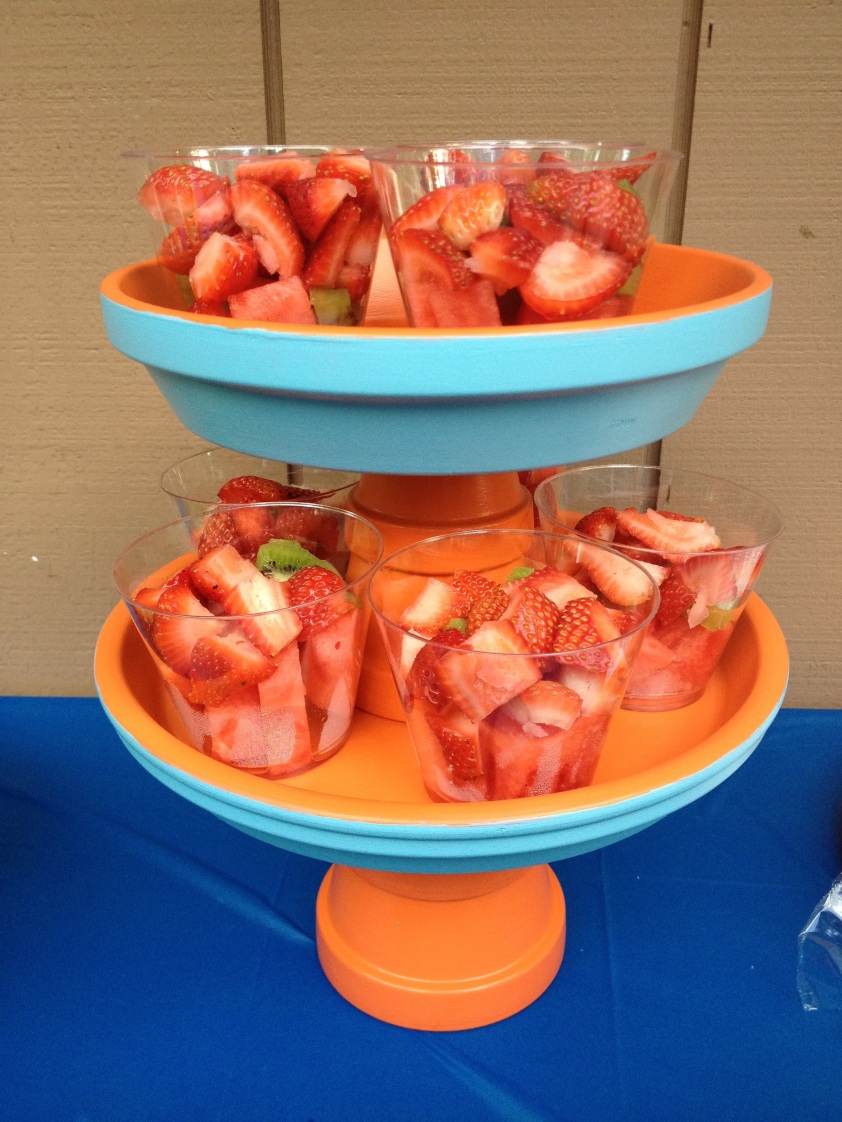
Well I’m at it again! This time, I needed a tiered dessert stand for our Father’s Day BBQ, so instead of buying the cheap cardboard one, I decided to make one! I combined several different Pins to complete this one.

Pinterest inspiration:

20130619-210820.jpg

20130619-210949.jpg

20130619-211016.jpg

I set off to the craft store and bought 4 small clay pots, 2 large clay pot trays, and blue & orange outdoor craft paint. I used gorilla glue to hook the pot bases to the trays. The two levels aren’t hooked together for greater versatility and easier storage. It can also be set on a platter to add a third tier.

My clay pot dessert stand

20130619-211406.jpg

20130619-211429.jpg